Custom Products from Masters Communications

|
Custom Products from Masters Communications |
|
Price - $15.00 each.
Available Colors:
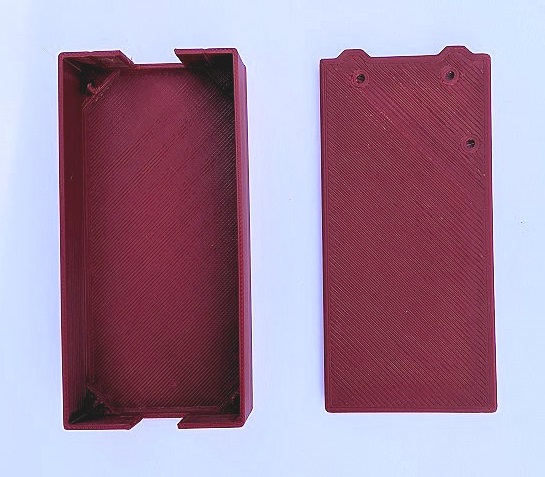
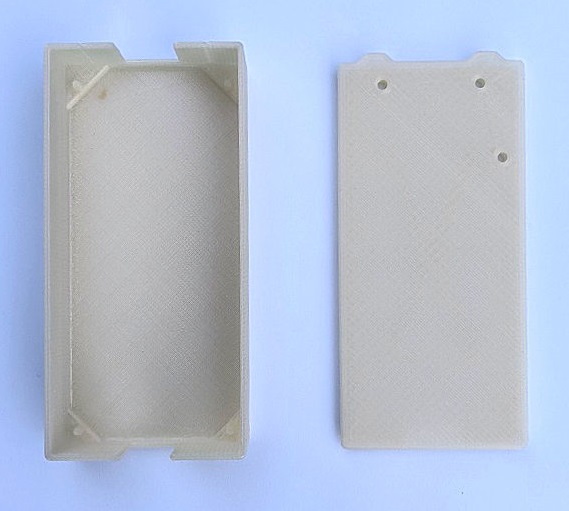
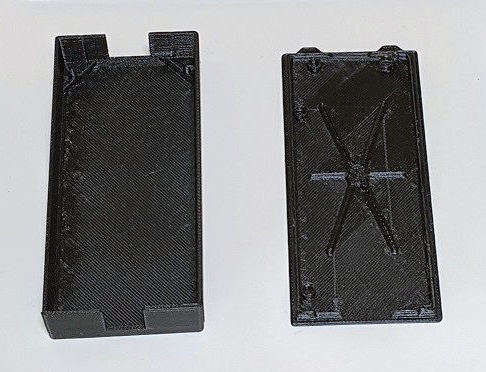
White - Dark Cherry Red -
Blue - Pearl-White -
Black - and Bright Red
Shipping and handling is calculated at checkout for US and International orders.
First-Class shipping available to most locations worldwide, calculated at checkout.
PayPal accepted - order below.

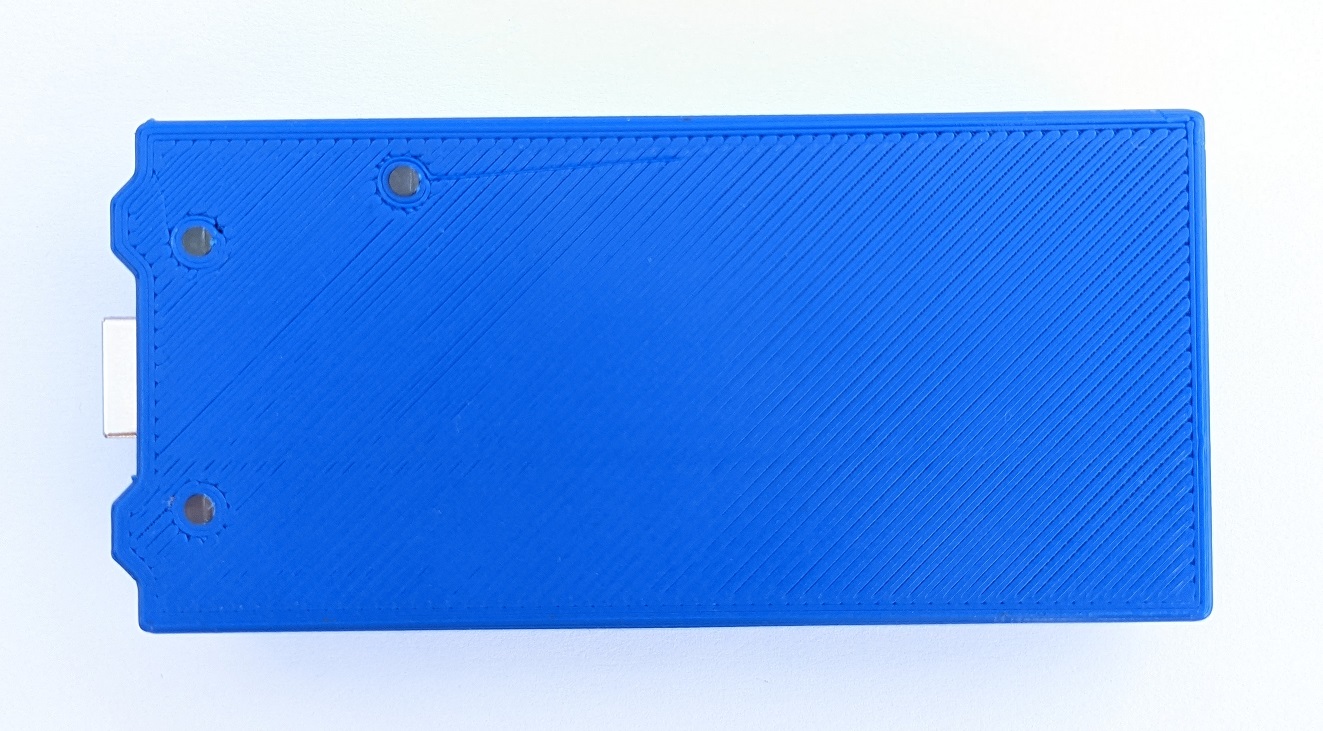
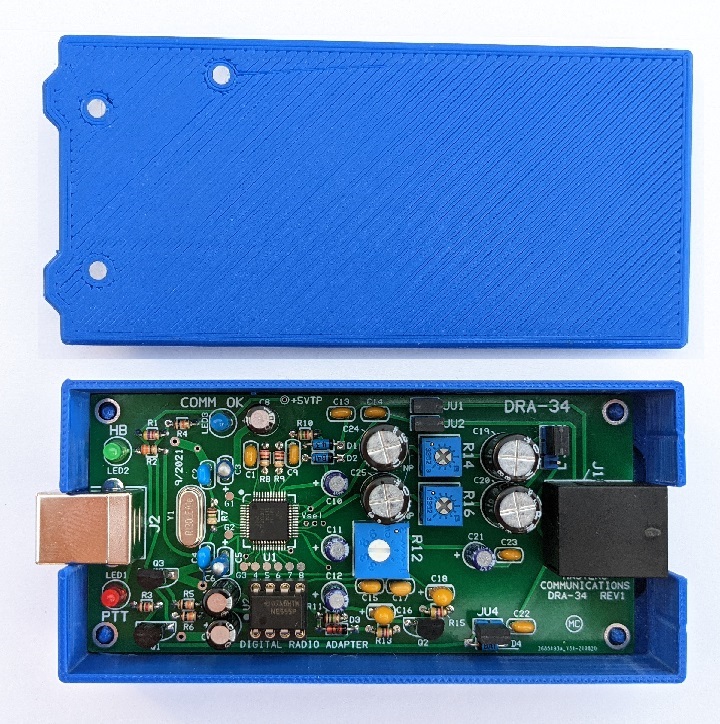
A DRA-34 radio adapter installed in a blue case:

Description:
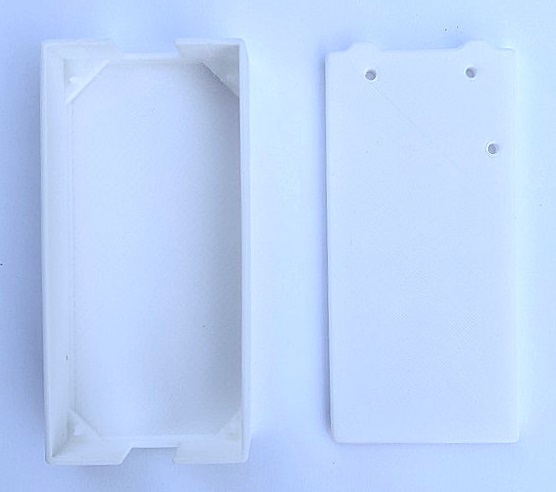
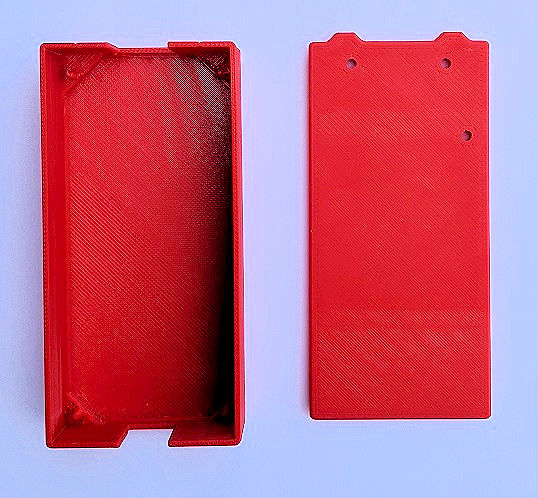
The RA-DRA Case is a high-quality 3D printed plastic (PETG) case that accommodates all of the
RA Series or DRA Series radio adapters.
These are printed in-house and like most 3D printed objects may contain small imperfections.
These don't severely detract from the appearance, as we won't sell something that's unacceptable.
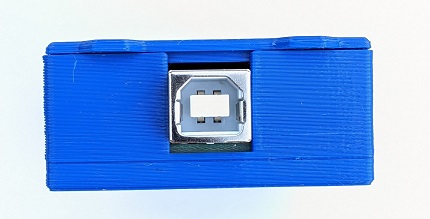
It fits all standard RA and DRA radio adapters because of its universal design. The case is used "as printed" with the DRA-34, DRA-36, DRA-39*, DRA-50, DRA-70, and DRA-80. For interfaces with the DB9 connector, the case bottom (box) needs a little preparation to provide additional clearance for that connector.
DB9 Connector Preparation:
DB9 preparation is done by bending the plastic along the scoring lines of the "tab" and carefully cutting
the plastic at these lines and removing the tabs to make room for that type of connector. Using needle
nose pliers, align the jaws along the length of the line (pliers placed on the tab) and bend the
tab (in or out) making a sharp bend along the scoring lines. You can bend it back and forth - but it probably
won't break away on its own. Then, using flush-cutting "side cutters" or multi-purpose
scissors, cut the tab away from the box. Because 3D printed parts are subject to fracturing along
the alignment of the printed layers, be careful not to put too much stress in that direction.
Bending the tab will help insure the box doesn't crack when you cut the tab away from the box.
File or otherwise trim the opening if necessary to insure the box isn't contacted by any connectors
when the board is placed.
Lid Preparation:
In addition, the lids accommodate small pieces of clear filament
(as shown in the blue lid photo) that is pressed into the holes of the lid
and trimmed to fit close to the LEDs lens when the LEDs are mounted flush on the surface of the board.
This filament is used as a light tube (fiber optic cable) to bring the light to
the surface of the lid. A length of clear filament the correct diameter (2.85mm)
is used. A length sufficient to populate the LED locations is normally supplied with each
case. The use of it is optional.
* DRA-39 Notes:
Installing a DRA-39 into the case requires you to remove 1/2 of what you would to prepare it for a
DB9 connector. There are two tabs on the radio connector end of the case. One of the tabs needs to be
removed to accommodate the speaker jack. The other tab should be left in place. Use the PC board to
determine which tab needs removed. It will be obvious.
DRA-54 Notes:
When you install a DRA-54 into the case the lid won't seat in one corner. One of the large NP
electrolytic capacitors is positioned right where the inner ring for the 4th LED - and won't let the
lid snap on the whole way. The fix is easy - take your flush cutters and cut off the interfering inner ring
on the unused 4th LED hole - flush on the inside. It cuts (breaks away) fairly easy.
RA-42 Notes:
The lids accommodate the 4th LED on the RA-42. You must, however, drill or
otherwise finish making the hole for that location, but the inner ring makes that easy when used
as a drill guide.
The radio adapter is installed into the case - "board first". Clean up any flash on the inner surface of the case, and, when necessary, make the clearance for the DB9 radio connector. Then - orienting the board correctly (the USB hole is the smaller one), place the circuit board into the box and press it down over the four stand-off "pins" in the four corners of box. The lid snaps on holding the circuit board in place. Yes - it's really that simple! Holes in the lid allow viewing the LEDs. Radio adapter boards can be built with the LEDs seated against the printed circuit board or the leads left longer and positioned so the lenses protrude (some) through the lid. If the LEDs are mounted flush against the board, the filamant can be used to bring the light to the outer surface.
Secure PayPal Ordering - Use down arrow to make color choice selection.
Quantity can be changed at PayPal after pressing the "Add to Cart" button.
Plastic RA-DRA Case - Make a color choice using the drop-down arrow.
Shipping amount is calculated at checkout for shipping to most locations Worldwide.
Email Kevin Custer for ordering information, ordering by check, and/or support of this exciting product.
Product of Masters Communications, all rights reserved.
Specifications may change without notice.
Images are property of Kevin Custer - W3KKC
Print design owned by Kevin Custer - W3KKC
HTML July 3, 2020, W3KKC All Rights Reserved!